Zoom and Deepgram
Zoom is a widely-used cloud-based video communications tool that lets you host virtual one-on-one or team meetings, webinars, and live chats and provides audio, video, screen-sharing, and other collaboration features. Zoom offers enhanced Real-Time Messaging Protocol (RTMP) support, which allows you to extract the audio from your content and stream it to Deepgram to get real-time automatic speech recognition for all of your Zoom calls.
In this guide, the audio from a Zoom conference call will be streamed to a local server. We will fork the stream to our Python script, which will send the audio to Deepgram, then receive and print transcriptions to the screen.
In a real implementation, you will likely want to modify the script to provide a callback URL to which transcriptions can be sent.
Before you Begin
Section titled “Before you Begin”Create a Zoom Pro Account
Section titled “Create a Zoom Pro Account”Before you can use Zoom’s live streaming, you’ll need to create a Zoom Pro account. Then:
Install Development Dependencies
Section titled “Install Development Dependencies”In order to run the services required for this integration, you will need:
If you’re using macOS, we recommend using Homebrew to install the above dependencies with brew install <dependency name>. On Linux, your OS package manager can be substituted instead.
You will also need a working Python environment with Python >= 3.6. We will install the required Python packages in the section “Download and Configure the Streaming Script”.
Start the RTMP Server
Section titled “Start the RTMP Server”Because Zoom supports Real-Time Messaging Protocol streaming, we will use a GitHub project called Node Media Server to create a simple RTMP server to receive and view the stream data.
To install and start the Node Media Server, run the following command:
npm i node-media-server -g && node-media-server
That should result in output like:

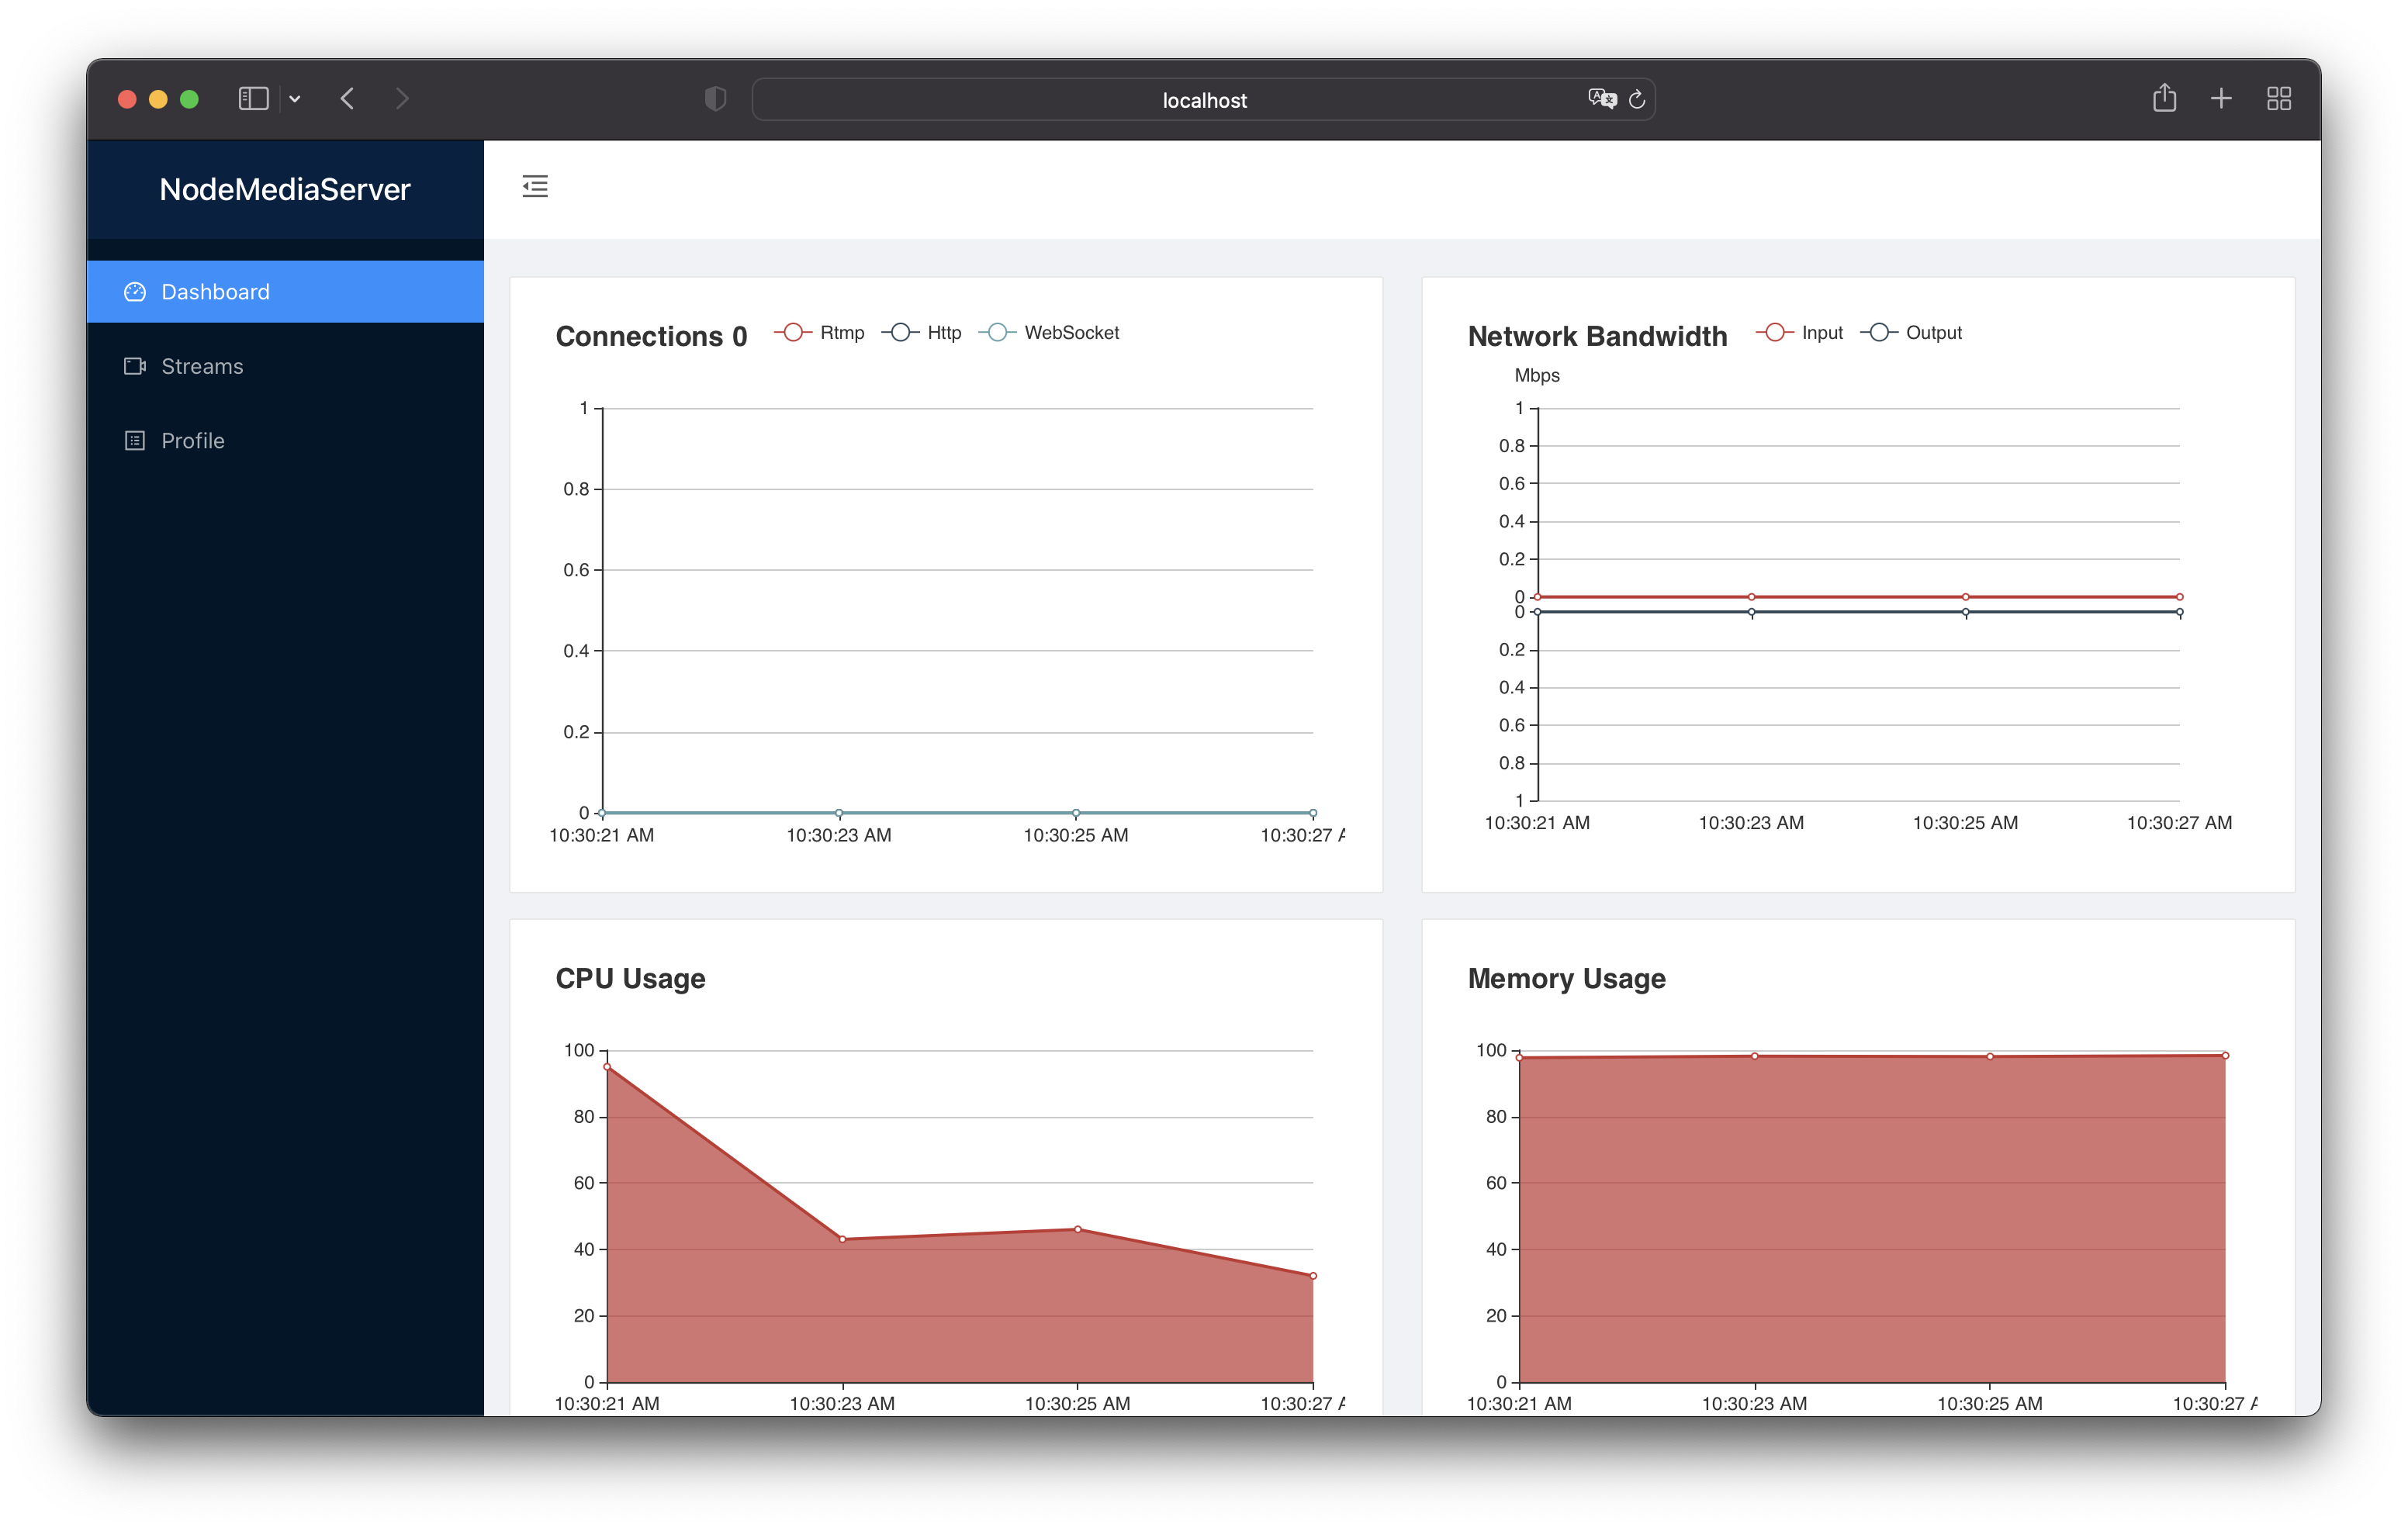
To visit your new server and verify everything is working, navigate to http://localhost:8000/admin and log in with the username admin and the password admin. You should see the following interface if everything is set up correctly:
Make the Server Publicly Available
Section titled “Make the Server Publicly Available”Now that we have confirmed the server is running, we’ll need to make it available over the internet so Zoom can send data to it. To do this, we’ll use Ngrok.
We’ll tell Ngrok to forward TCP traffic for port 1935 (the default port Node Media Server uses for RTMP) through a public tunnel. Open a new terminal window and run:
ngrok tcp 1935
The output should look like this:
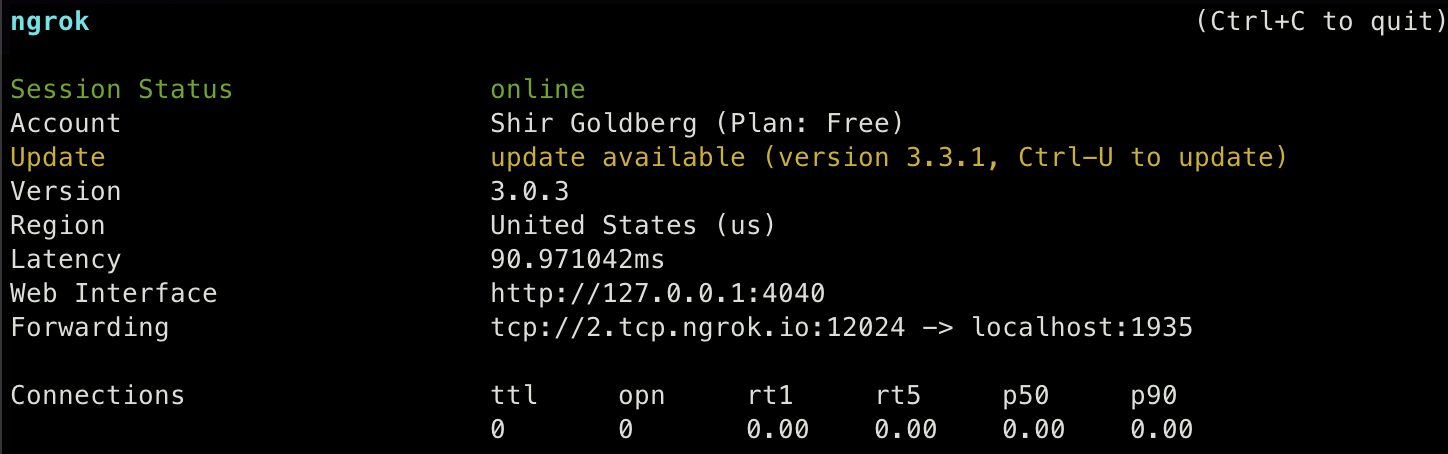
Make sure to save the forwarding URL which in this case is tcp://2.tcp.ngrok.io:12024. We’ll need to enter this URL in the next step.
Download and Configure the Streaming Script
Section titled “Download and Configure the Streaming Script”Next, clone our Deepgram + Zoom repo.
Install Python Dependencies
Section titled “Install Python Dependencies”Navigate to the location where you cloned the Deepgram + Zoom repo. Then run:
pip install -r requirements.txt
There are a few dependencies required for this code. The websockets library is used to send and receive messages from Deepgram. We also need scipy (a scientific library we will use to handle WAV files), streamlink (a command-line utility that extracts streams from various services and pipes them into a chosen video player), and requests (a simple HTTP library).
Configure Deepgram Authentication
Section titled “Configure Deepgram Authentication”Prior to running the script, you must replace the authentication with your Deepgram username and password.
On line 17 of stream.py, replace YOUR_DEEPGRAM_API_KEY with the API Key you created earlier in this tutorial:
17 'Authorization': 'Token YOUR_DEEPGRAM_API_KEY'Set Up Your Zoom Conference Call
Section titled “Set Up Your Zoom Conference Call”Next, you will need to start your Zoom meeting and configure your Zoom live-streaming service:
-
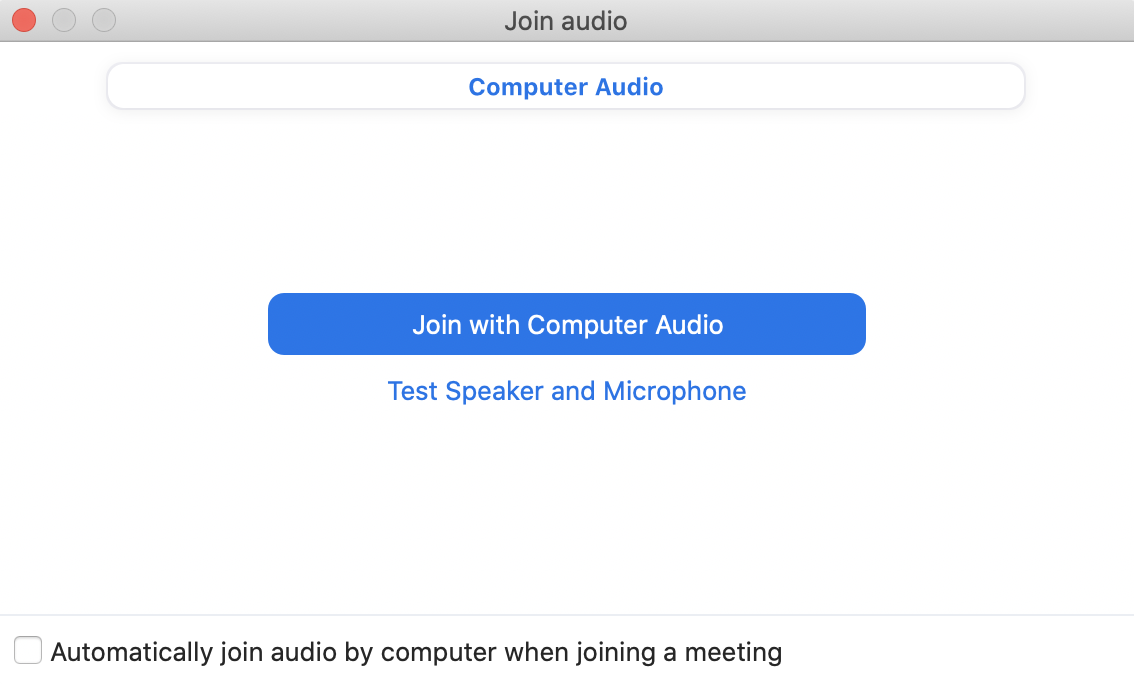
Start your Zoom meeting and join the meeting with computer audio.
-
Select More… and then Live on Custom Live Streaming Service.

-
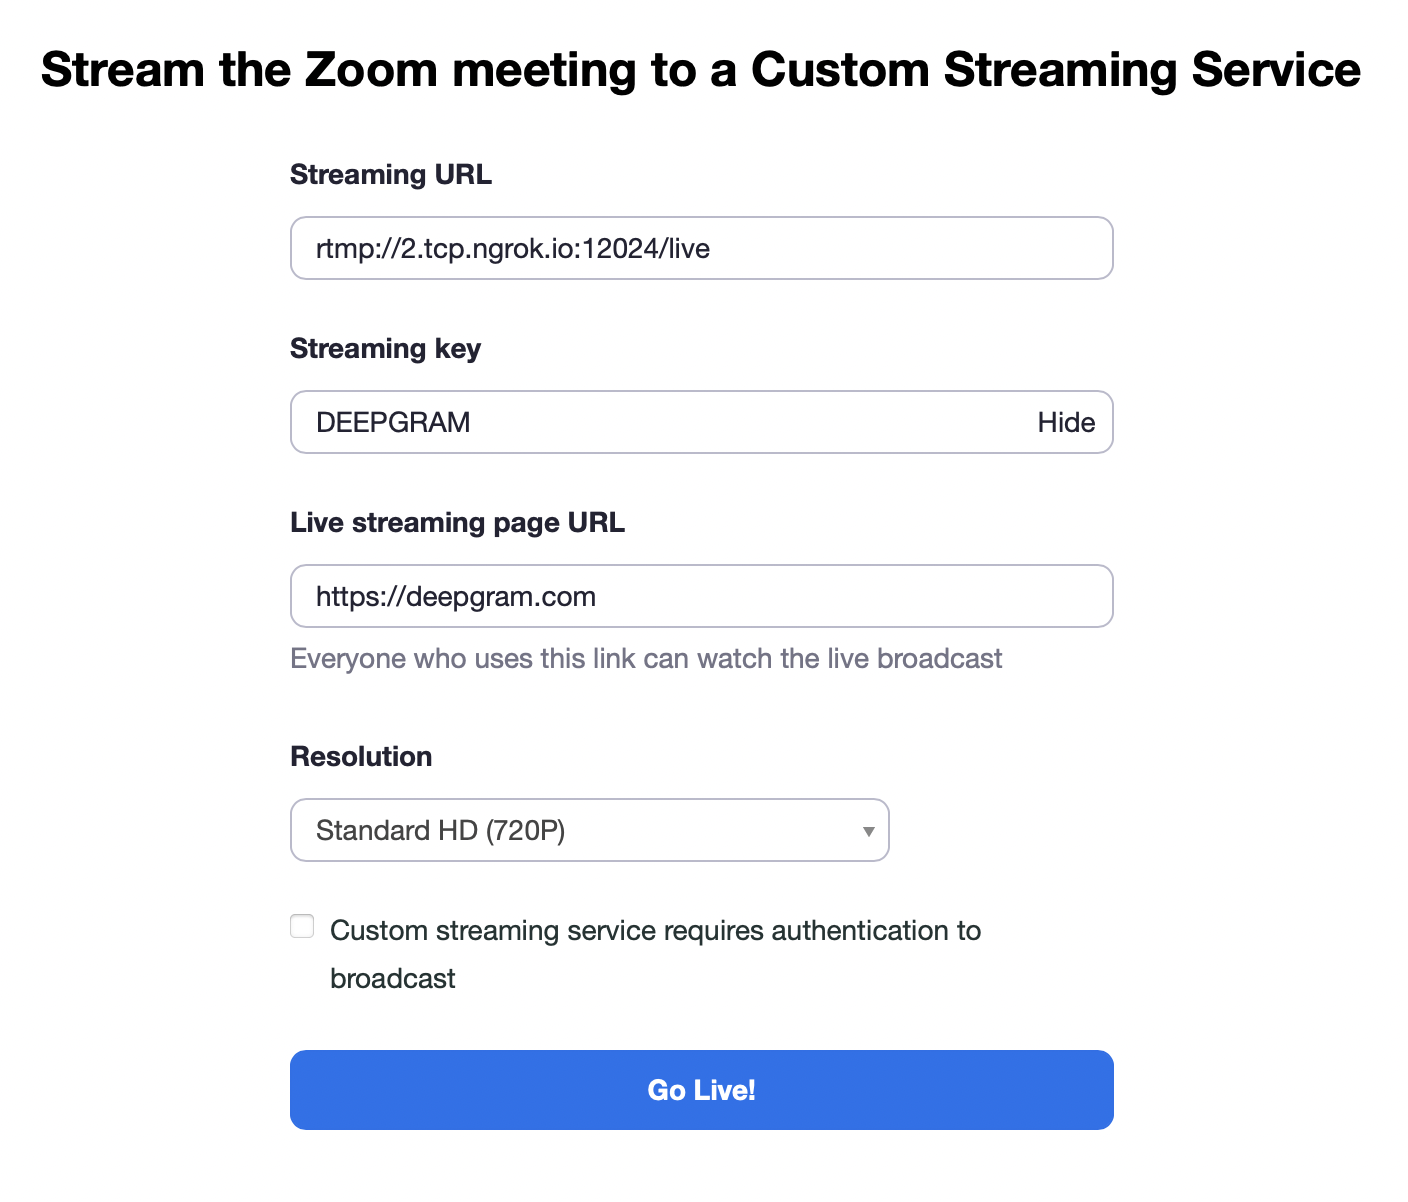
Configure streaming, and select Go Live!.
| Field | Description |
|---|---|
| Streaming URL | URL or IP address to which you would like to send audio. Zoom will stream media to this URL, so that other apps can subscribe to the stream. Use the ngrok URL created in the previous step, plus /live. Modify the url to start with rtmp:// instead of tcp://. |
| Streaming key | Unique identifier for your meeting instance. Use any unique ID (such as DEEPGRAM or ZOOM). Make note of the value you enter because you will need it again later. |
| Live streaming page URL | URL to a front-end where users can view the live stream. In this example, we intend to use our stream.py script to display results in the terminal on the same machine that hosts the RTMP server indicated in the Streaming URL, so we won’t have a live streaming page. Use any URL in this field (like https://deepgram.com). This field is required by Zoom but not needed for our application. If you modified our example streaming script to use a callback URL, then instead, enter the URL to the page that will process and display the transcripts. |
Send Streaming Results to Deepgram
Section titled “Send Streaming Results to Deepgram”We’re ready to start sending Zoom audio to Deepgram and receiving transcriptions!
Configure the Zoom Streaming Key
Section titled “Configure the Zoom Streaming Key”Because you could be streaming multiple instances of Zoom at the same time, the script needs to know from which Zoom instance it should get results.
We’ll use RTMPDump to fork Zoom’s audio to Deepgram via our stream.py script .
To do this, run stream_rtmp.sh, found in our Deepgram + Zoom repo. The shell script contains the following:
rtmpdump -r $1/$2 --live -o - | python3 stream.pyHere, rtmpdump makes a connection to a specific stream on the specified RTMP server and directs the media content of the stream to our example streaming script (stream.py) for display in your terminal. Parameters include:
| Parameter | Description |
|---|---|
| −r url | URL of the server and media content. Should be in the form rtmp[t][e]://hostname[:port][/app[/playpath]]. In this example, this is the local IP of the RTMP server we are running. When you run the script, you will pass in the Streaming URL and Streaming key you configured in Zoom, which will replace the $1 and $2 variables. |
| −-live | Specifies that the media is a live stream. You may not resume or seek in live streams. |
| −o output | Specifies the output file name. In this case, the output is piped to our example streaming script (stream.py) for live display. |
Run the Script
Section titled “Run the Script”To run the script, from the command line, open a new terminal window. Navigate to the location where you cloned the Deepgram + Zoom repo.
Then, run the following command:
source stream_rtmp.sh url keynameReplace url with the the Streaming URL you entered in Zoom. This will be the ngrok URL created in the previous step, plus /live. Remember to modify the URL to start with rtmp:// instead of tcp://.
Replace keyname with the Streaming key you entered in Zoom.
See Results
Section titled “See Results”Start speaking into your microphone. After a brief delay, you should see results of the audio transcription of your livestreaming Zoom call start to appear on your screen.
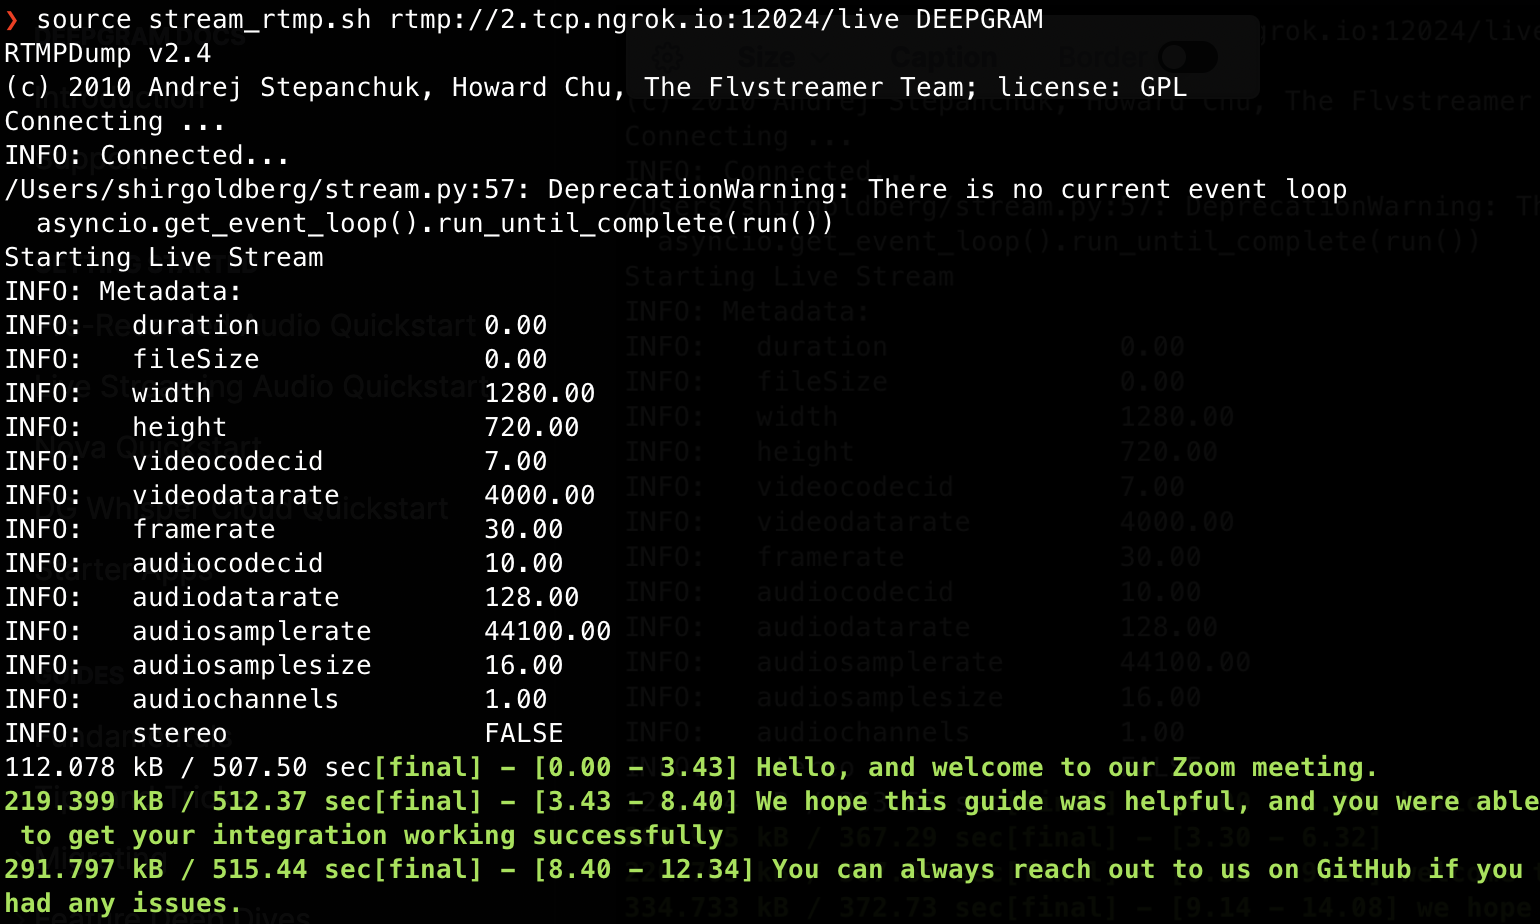
By default, this script does not return interim results, only finalized transcripts. If you require the fastest possible transcripts (with the potential for less accurate transcriptions), modify line 20 in stream.py to add the parameter interim_results=true.
When interim results are turned on, red output represents interim transcripts, while green text represents final transcripts. To learn more about interim and final transcripts, see Interim Results.