Self Service Licensing & Credentials
Deepgram gives you the ability to self-manage your self-hosted API keys and container image distribution credentials. This offers you flexibility and control over your Deepgram self-hosted deployments using Deepgram Console and Quay. For example, you can rotate and expire your keys and credentials according to your access control policies.
This guide focuses on using Deepgram Console. If you would like to use the Deepgram API, see our API documentation on creating API keys and creating distribution credentials.
Verifying Access to Self-Hosted Products
Section titled “Verifying Access to Self-Hosted Products”This guide only applies to Console projects which have been granted access to self-hosted products. If you have access, your Console menu should have an “Self-Hosted” tab, as shown below.
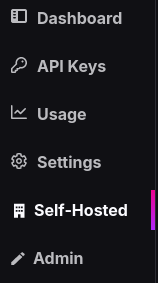
If you do not have this tab in Console, your project has either:
-
Never received access to self-hosted products
- To take advantage of our self-hosted product offering, you will need to enroll in a Deepgram Enterprise Plan. If you’re interested, please contact us!
-
Received access to managed self-hosted products, but has not yet been granted access to self-service for these products.
- Please contact your Deepgram Account Representative to enable access.
With that out of the way, we can begin!
Create a Self-Hosted API Key
Section titled “Create a Self-Hosted API Key”You can use the Deepgram Console or the Deepgram API to create a self-hosted API key for licensing Deepgram products. Follow the Creating API Keys guide to create a key, and record it securely.
After receiving your key, you can dismiss the pop-up and return to the API Keys page. You should see your new self-hosted API key, and if you expand the details, you can view the self-hosted products which can be licensed by that key.
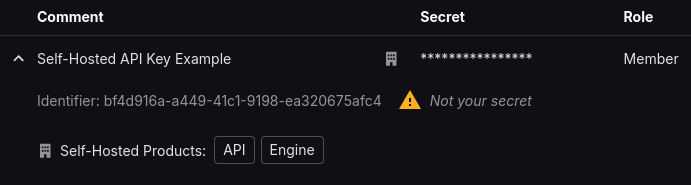
Depending on your self-hosted agreement with Deepgram, you may have access to different products. All self-hosted customers have access to API and Engine. For access to the License Proxy, please contact Support.
Create Container Image Distribution Credentials
Section titled “Create Container Image Distribution Credentials”Distribution credentials are used to authenticate with a container image repository when pulling Deepgram container images into your deployment environment.
-
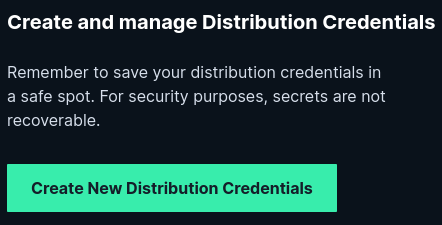
Back on the Console page, use the menu on the left and click on the “Self-Hosted” tab, then click “Create New Distribution Credentials”.
-
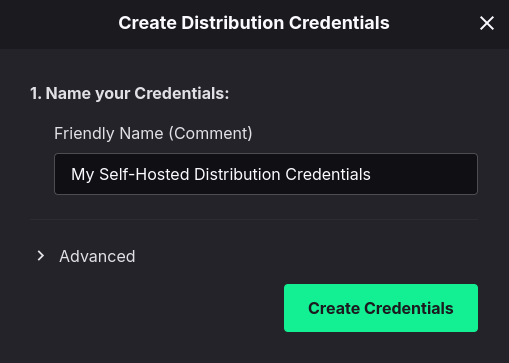
Provide a name for your distribution credentials and click “Create Credentials”.
-
Your new credentials will be shown, which include:
- A
username, which looks likedeepgram+6ba7b810-9dad-11d1-80b4-00c04fd430c8. - A
secret, which looks likeR2CTHDZ27R360V8H5LOWGBQ871HE9RP5YGWZA9JXWM3V98ST4VE3NYX72BK86Z7J. - An example
shellcommand that demonstrates how to authenticate with your credentials
You can use the
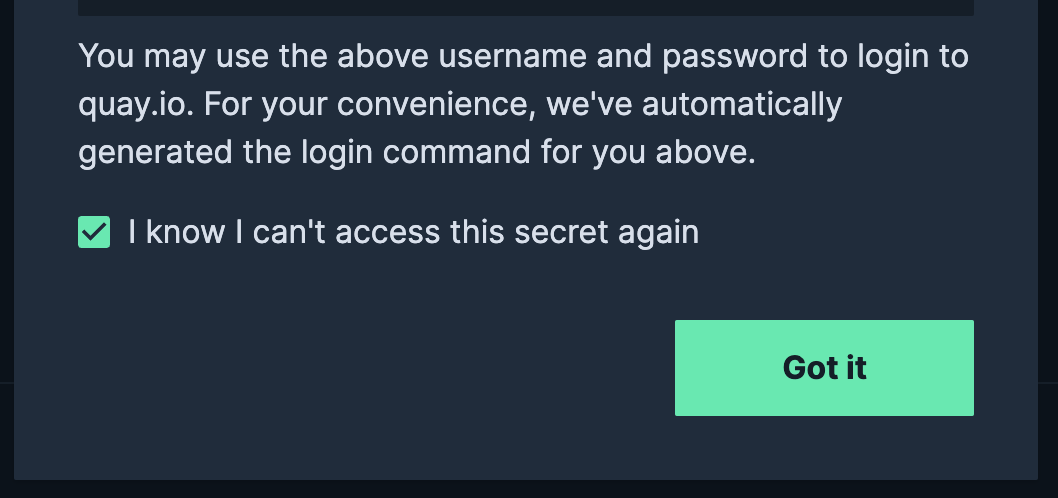
secretas your password for theshellcommand. Again, take note of the displayed values, as they can’t be accessed again. Once you’ve copied it, check the box affirming you understand this and click “Got it”. - A
-
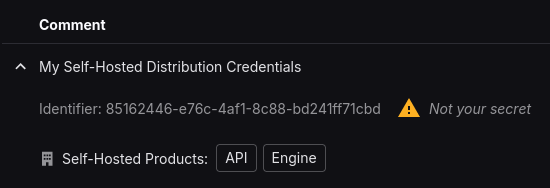
The pop-up will be dismissed and you will be back on the “Self-Hosted” page. You should see your new distribution credentials and the container images which can be accessed with those credentials.
Migration for Legacy Licensing and Container Distribution
Section titled “Migration for Legacy Licensing and Container Distribution”If your self-hosted Deepgram environment uses a static legacy license key, or you previously used DockerHub to access container images, you will need to modify your environment to use your newly generated credentials.
-
Upgrade your Deepgram container images to the most recent release provided by Quay.
- Login on the command line using the newly generated credentials from Create Container Image Distribution Credentials.
- Follow the instructions here to pull the latest Deepgram images.
- Edit your
docker-compose.ymlfile (or other orchestration platform files, like Kubernetes manifest files) to use the new container image you just pulled from Quay.
-
Replace your static legacy license key with your newly generated self-hosted API key from the Create a Self-Hosted API Key section.
- Edit any custom
api.tomlandengine.tomlconfiguration files. Replace the value at[license.key]with your API key secret. - If needed, edit the
docker-compose.ymlfile (or other orchestration platform files) to replace the key used by the License Proxy or other add-on products. Replace the value at--license-keywith your API key secret.
- Edit any custom
What’s Next
Now that you have your credentials set up, you need to choose your deployment path based on the Deepgram services you want to deploy:
Choose Your Deployment Path
Section titled “Choose Your Deployment Path”Speech-to-Text (STT) Deployment
Section titled “Speech-to-Text (STT) Deployment”Deploy Deepgram’s industry-leading speech recognition capabilities for transcription and real-time streaming applications.
Use cases: Transcription, call analytics, voice assistants, meeting notes, media processing
Text-to-Speech (TTS)
Section titled “Text-to-Speech (TTS)”Deploy Deepgram’s conversational AI voice synthesis with ultra-low latency and high-quality natural speech generation.
Use cases: Voice assistants, AI agents, interactive voice response (IVR), accessibility applications
Voice Agent
Section titled “Voice Agent”Deploy Deepgram’s Voice Agent API for real-time conversational AI with speech-to-speech interactions. Requires both STT and TTS services.
Use cases: Voice bots, customer service agents, interactive voice assistants, telephony integrations